Showing posts with label vest. Show all posts

Wednesday, April 28, 2010

How I did the puff sleeves


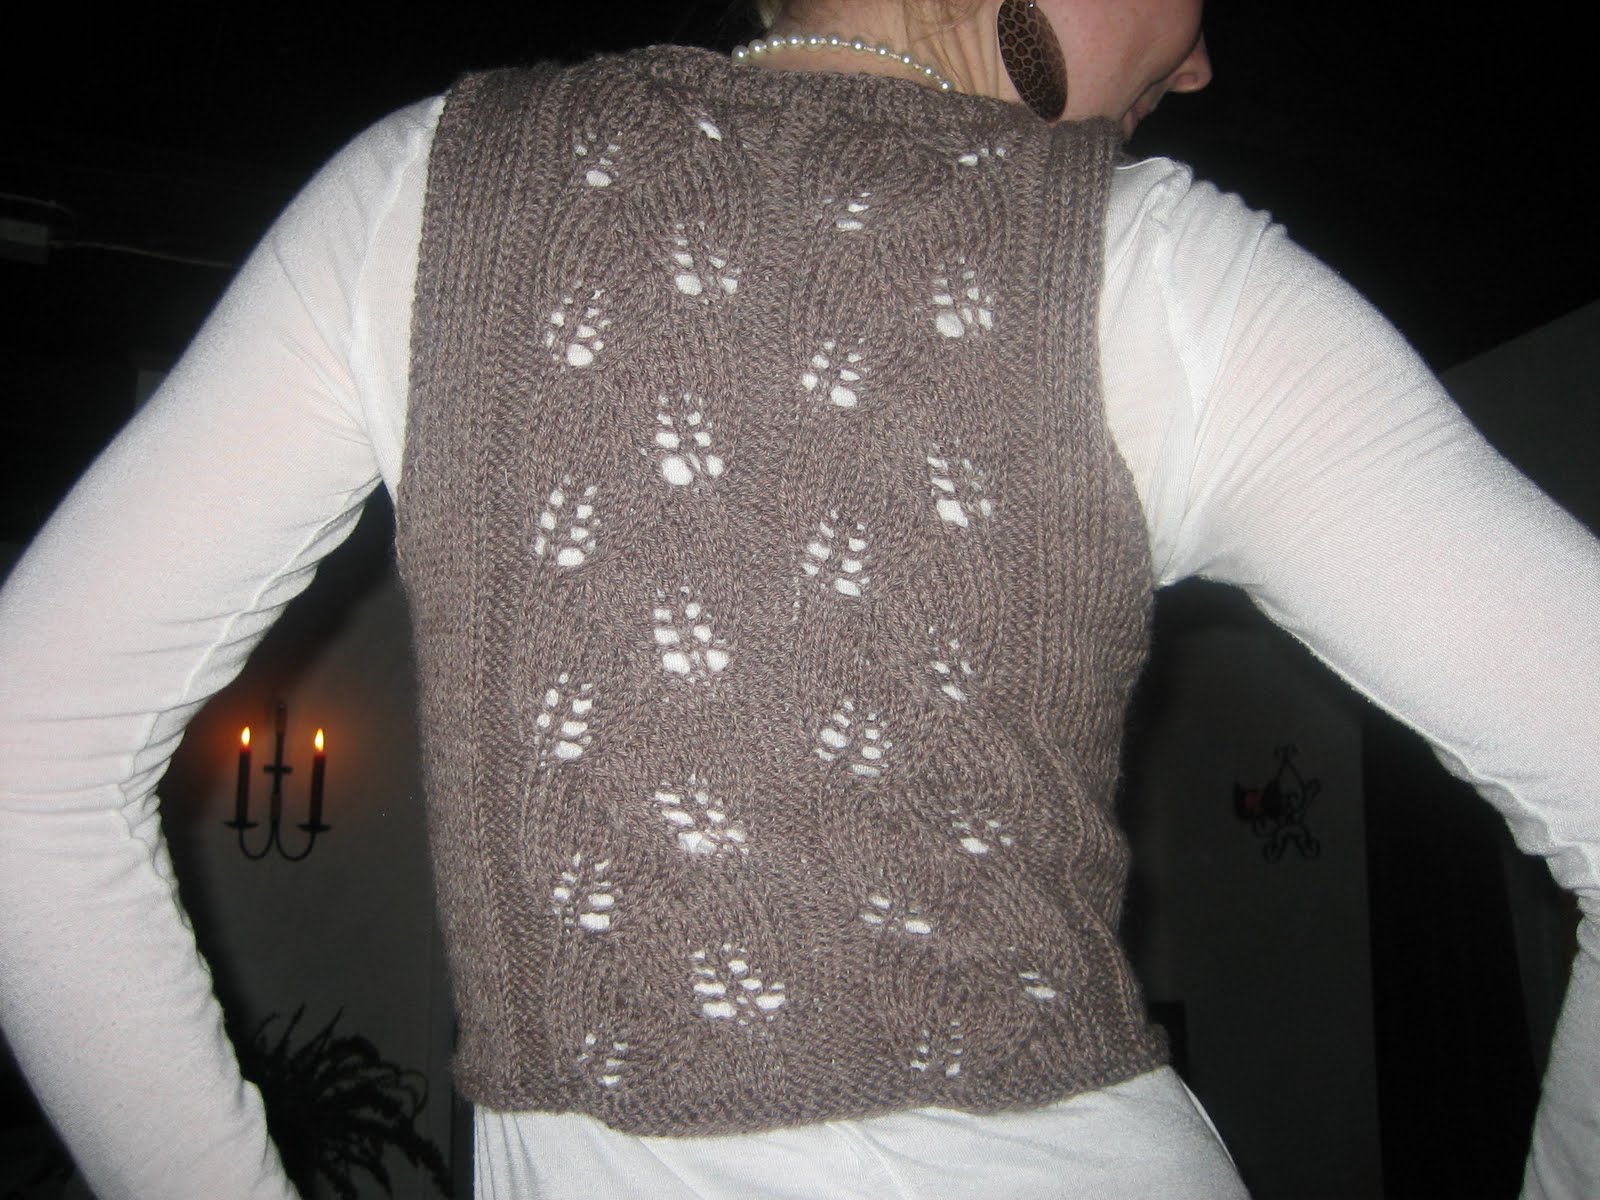
Here´s how I made the puff sleeves for the Little Lace Vest:


Pick up 33 st on both sides of the armhole and 1 right on top of the shoulder = 67 st

Knit 6 st, pm, knit 16 st, pm, knit 9, kfbfb in the next 5 st, knit 9, pm, wrap and turn.

Knit short rows until 9 st remain to first marker = 51 + 44 st remains

From the front k 12, (k2tog, k4) 4 times, k2tog, k 13, turn

Purl back

On the following RS rows knit 2tog with one less st between, until you have made k2tog x 5. 57 st remains.

Continue to knit in the round all the way to beginning of row.

Knit three rows k1p1, bind off tightly.

************

st = stitches
pm = place marker
kfbfb = knit in the front, in the back, in the front and in the back of the stitch (increased 3 stitches)
For tutorials on short rows go to youtube.com
When working on the vest, decrease less stitches for the armhole to make the shoulder part wider.

Good luck!


Thursday, April 15, 2010

Never give up

Knitting is like life itself. Sometimes all goes well and things turn out the way you want them to. And sometimes all goes wrong and you have to start all over again with a different approach.

I knitted a beautiful lacy vest for my daughter (#100 Little Lace Vest at sweaterbabe.com). It fits her perfectly and she loves it!


Then she wanted me to make another one in a different color, and this one should have small puff sleeves. Ok, I thought, that shouldn´t be a problem. (I would do anything for her...)

The vest finished up quickly. It is all knitted in the round, so I had to figure out a way to pick up stitches around the armhole and shape the sleeve nicely. I did some reading in my knitting books and searched on Ravelry, and finally I came up with a solution. The best tip ever is from the book "Custom Knits" by Wendy Bernard, and is called "afterthought sleeves". Ok so far so good! But the tricky thing was to shape the sleeve to the proper form.

I made one sleeve, took the vest to my daughter for a fit - the sleeve was way to big and "princessy"! It would have been cute on a little girl.

So I ripped it all out (the sleeve that is!) and started all over again. This I did three times, it just wouldn´t come together the way I (and my daughter) wanted. If the vest was for me, I would have given up and made the original ribbing. BUT: you do everything for your children, don´t you? So: yesterday I sat down all day and tried to figure out what I did wrong and lo and behold! Now it looks the way I want it to look!

Today she will try it on and I really hope the sleeve looks good! If it does I´m going to be sooo proud of myself and also will be one step closer to becoming a designer!


By the way, the most important thing when you try to design your own stuff, is to write everything down as you go. Don´t for a second imagine that you will remember it all! :-)

***************

8 pm: Finally! It´s finished (except for some nice buttons)! And looking good!